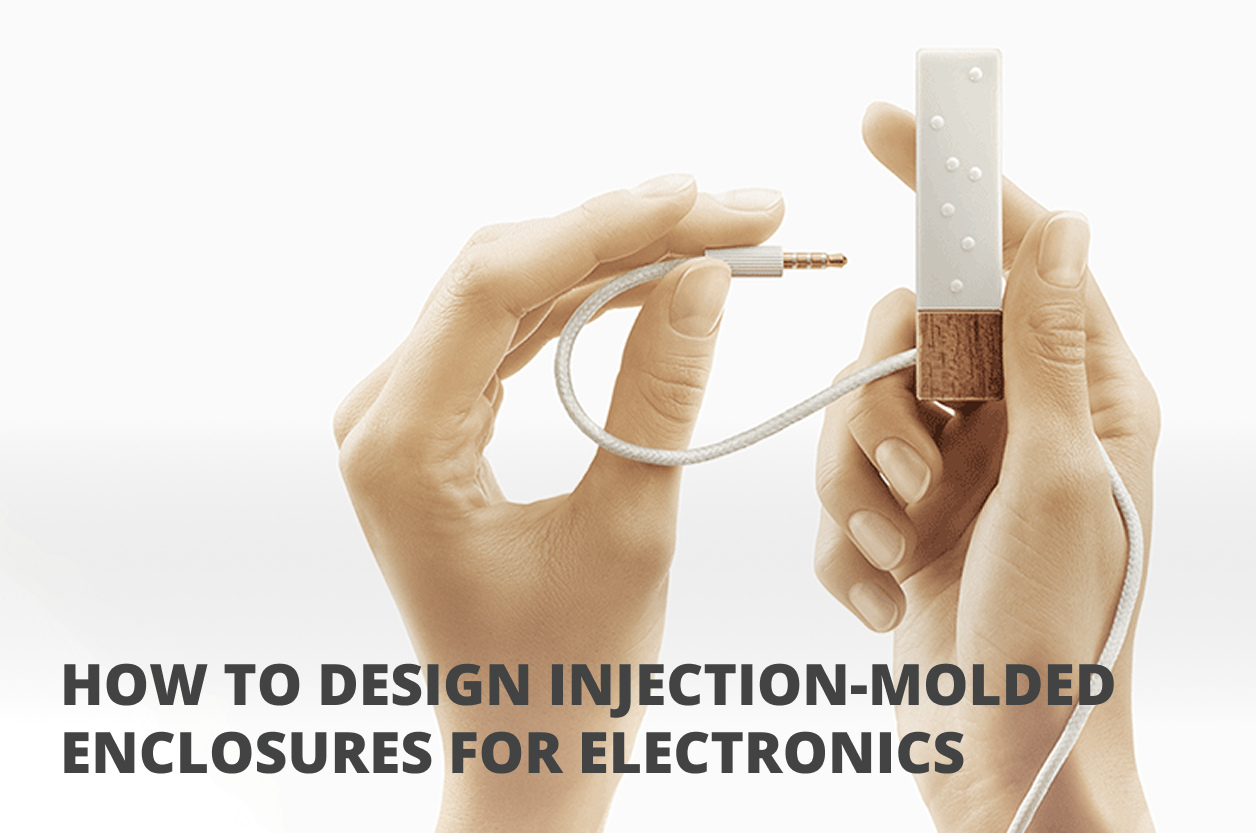
How to Design Injection-Molded Enclosures for Electronics: Tips from Engineering Practice
Why Injection Molding Is Still the Standard in Enclosure Manufacturing
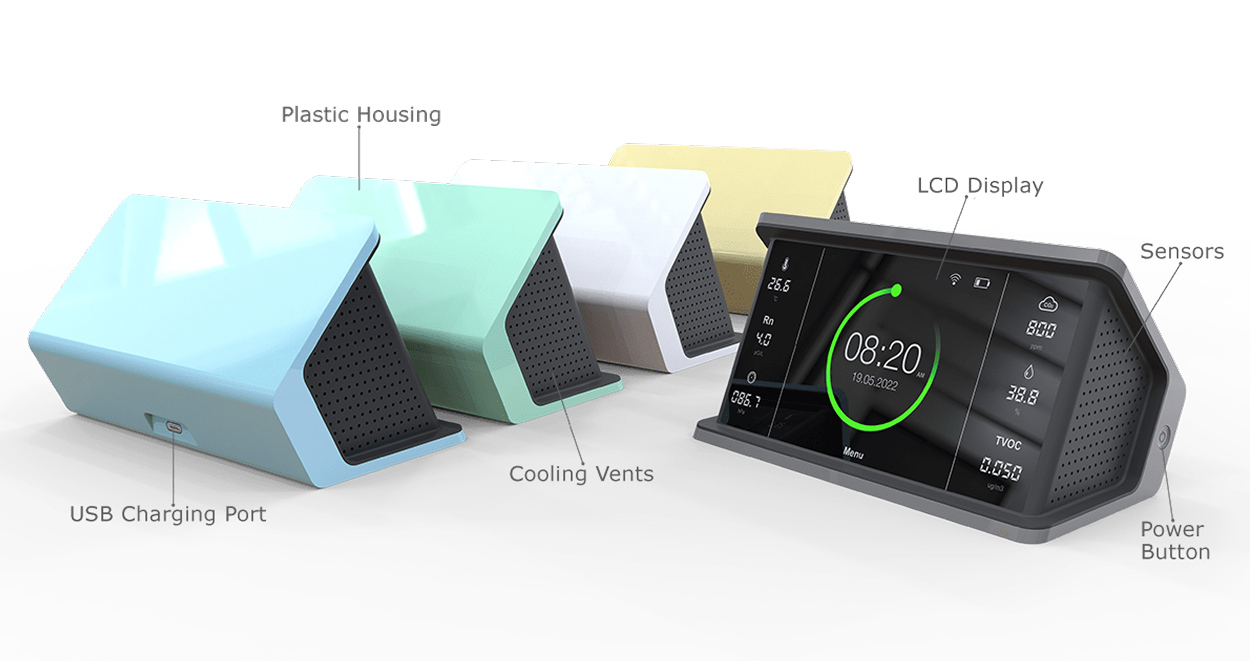
When it comes to electronic products — from telecom gateways and automotive control units to wearable and smart home devices — injection-molded plastic enclosures are the gold standard for mass production. The method combines high precision, consistent quality, and low per-unit cost once tooling is in place.
But what does it really take to design an enclosure that works — not just visually, but mechanically, thermally, and in terms of compliance? In this article, we’ll walk through the key principles, limitations, and best practices in designing injection-molded enclosures, based on real engineering experience.
What Makes Injection Molding the Right Choice?
| Feature | Why It Matters |
| High repeatability | Each unit is mechanically identical |
| Supports complex shapes | Snap fits, ribs, grooves, and ventilation are possible |
| Cost-effective at high volumes | The more you produce, the cheaper it gets |
| Finish and branding flexibility | Textures, logos, inserts, and coatings supported |
| Integration with electronics | Mounting bosses, PCB rails, and seals built in |
If you plan to ship thousands of units or more, injection molding almost always wins in cost and reliability.
Design Challenges and How to Overcome Them
Injection molding is highly rewarding — but also demanding. Your design must respect manufacturing constraints from the outset.
- Wall Thickness:
Keep walls between 1.5 and 3.0 mm (material-dependent)
Avoid sudden transitions; use ribs instead of bulk
Thin areas lead to short shots; thick areas cause sink marks - Draft Angles:
Add 1–2° draft on vertical faces so parts can be ejected from molds
Increase draft for textured surfaces - Undercuts and Complex Features:
Increase mold cost significantly if present
Use slide mechanisms only where unavoidable - Ribs, Bosses, and Reinforcements:
Use to increase rigidity without thickening walls
Ensure height-to-thickness ratios are respected to avoid warping - Gate and Ejector Placement:
Choose areas that won’t be visible or interfere with structure
These considerations drive both manufacturability and quality.
Choosing the Right Material for the Job
| Material | Key Properties | Typical Use Cases |
| ABS | Easy to mold, shock-resistant, cost-effective | Consumer electronics, hubs |
| PC | Transparent, heat-resistant, very strong | Medical and industrial devices |
| PC-ABS | Balance of toughness and surface finish | Automotive, rugged gear |
| PP | Chemically resistant, semi-flexible | Outdoor, wearable enclosures |
| Nylon (PA) | Mechanical strength, but moisture-sensitive | Hinges, clips, mechanical parts |
Material choice affects mold design, tolerance expectations, flame rating, and mechanical behavior.
From Sketch to Shipment: Enclosure Development Flow
- Concept and Industrial Design – Form factor exploration, interface layout, visual styling
- Mechanical Design (CAD) – 3D modeling, draft angles, ribbing, fit with electronics
- DFM and Simulation – Validate mold flow, warpage risks, and sink zones
- Tooling – Steel or aluminum molds built via CNC/EDM, polishing, finishing
- Sampling – First-off samples (T0, T1), dimensional and cosmetic checks
- Mass Production – Mold refinement, volume ramp-up, QC procedures
At Promwad, we manage this process end-to-end — and adapt tooling to changes in product strategy.
Injection Molding vs. Other Prototyping Methods
| Method | Pros | Cons |
| Injection Molding | Best quality, low cost per part at scale | High upfront tooling cost |
| CNC Machining | Fast for early-stage prototyping | Expensive for volumes, material waste |
| 3D Printing | Great for design verification | Poor surface finish, weaker materials |
Start with 3D printing and machining — but switch to molding for final enclosure production.
Field-Proven Promwad Examples
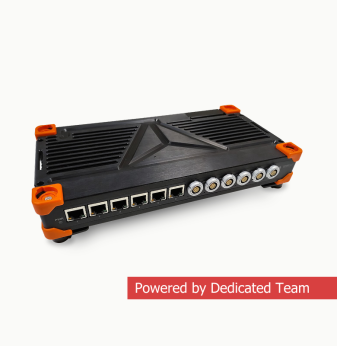
- Industrial gateway: ABS snap-fit enclosure with integrated airflow grilles and PCB guides
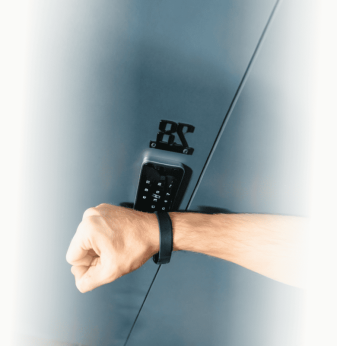
- Medical wearable: Transparent PC housing with IP54 sealing and laser-etched logo
- Automotive device: PC-ABS casing designed to meet flammability UL94 V-0 and harsh vibration requirements
We don’t just design the shell — we co-design with the electronics team to optimize everything from button feel to EMI shielding.
Engineering Tips for Successful Molded Enclosures
- Validate designs with 3D prints before tooling
- Get DFM feedback early from mold suppliers
- Include mold revision zones (steel-safe design)
- Consider insert molding (e.g., for threaded brass) if needed
- Don’t forget tolerancing — plastics expand and shrink!
An experienced partner can save you costly mistakes before cutting steel.
Final Thoughts: When to Go with Injection Molding
If your product is ready for production and you plan for 1000+ units, injection molding will likely pay off. It delivers:
- Consistent quality
- Fast cycle times
- Visual polish and market readiness
Promwad helps electronics brands move from prototype to polished product — with in-house mechanical design, global tooling partners, and mass production support.
Let’s bring your enclosure idea to market.
Our Case Studies in Enclosure Design