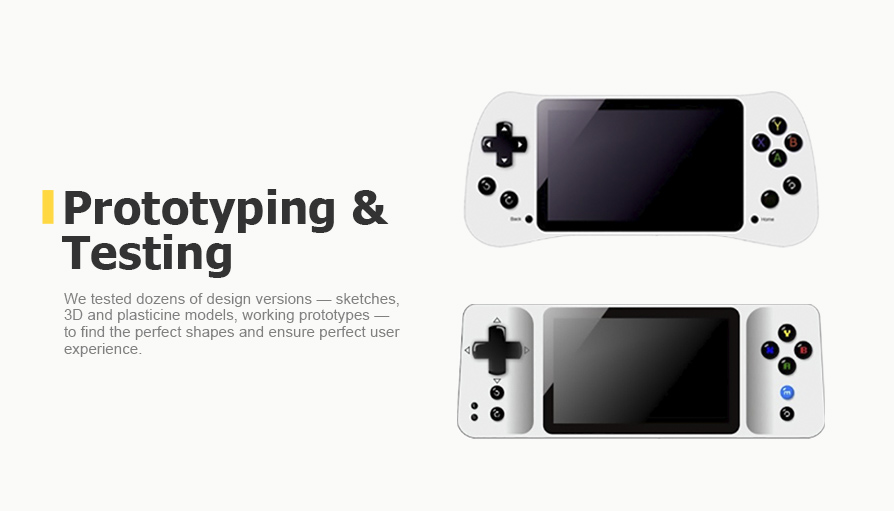
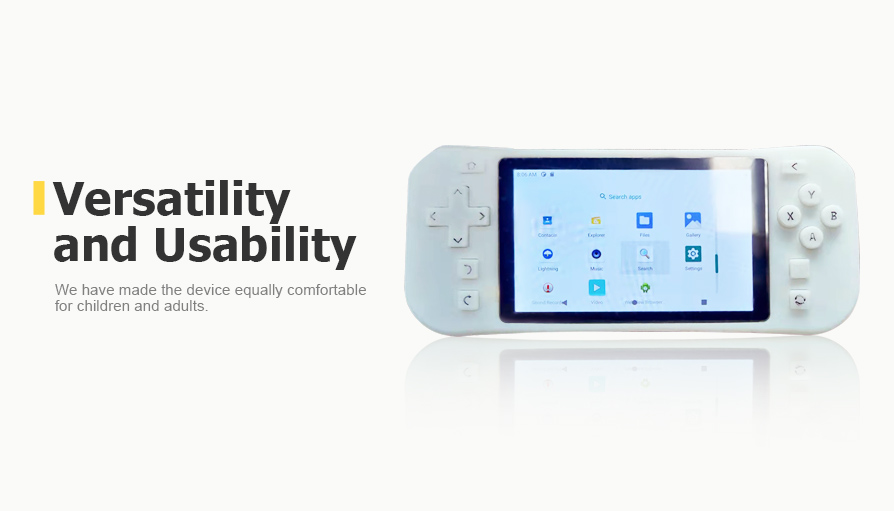
From Concept to Console: Design of Game Device
Client
A European game developer.
Challenge
The client started a game console development project and approached us to design an ergonomic and user-friendly gaming console suitable for children's and adult hands.
The designed enclosure was to be made of appropriate materials that provide aesthetic purposes, bring comfort, and ensure longevity.
The client's main request was a minimalistic and functional style: the placement of buttons should feel natural and intuitive, ensuring easy access and enjoyable gameplay.
Solution
1. Concept Development
We analysed the most common weaknesses of existing game consoles on the market, which helps to create our game console concepts. Our goal was to combine trends and avoid failures experienced by users of other similar gadgets.
Here are the issues we identified:
- arm cramping due to improper device angling,
- slipping due to improperly selected case material,
- complex shapes, which cause dirt,
- matte coating, fingerprint-resistant surface.
2. Enclosure and Mechanical Design
Step 1. Conseptual design
We began the game console design by sketching using the data collected during the research phase, considering our project specifications – the dimensions of the screen, the PCB and the battery, which shaped the dimensions of the enclosure.
Our industrial designer started working on 2D sketches in various styles.
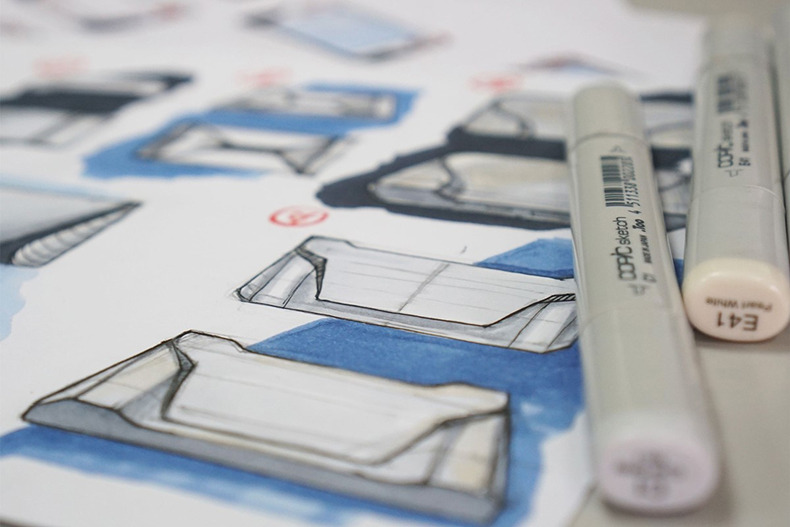
Doodles is a preliminary sketch to "grope" ideas/concepts the client wants to see
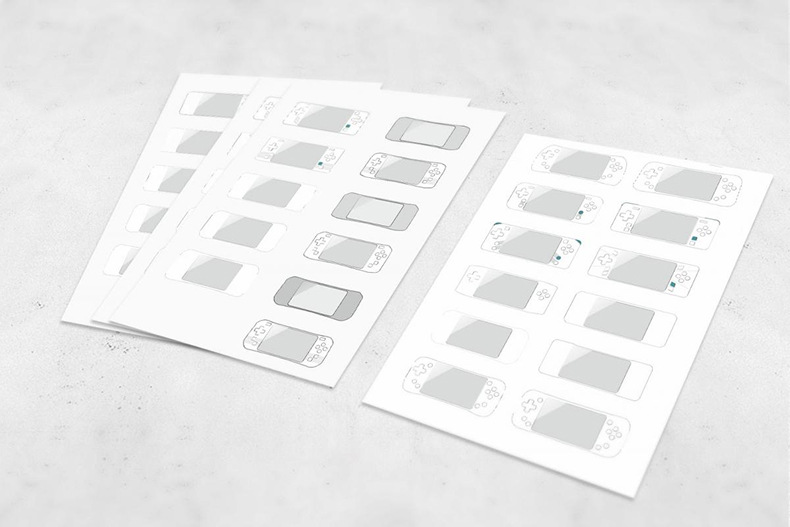
We've done dozens of sketches of the future gaming console
After reviewing the offered doodles, the client chose several directions to keep working on. We prepared 18 sketches with various ideas for radiuses, contour shapes, button places, and then selected the leading variants.
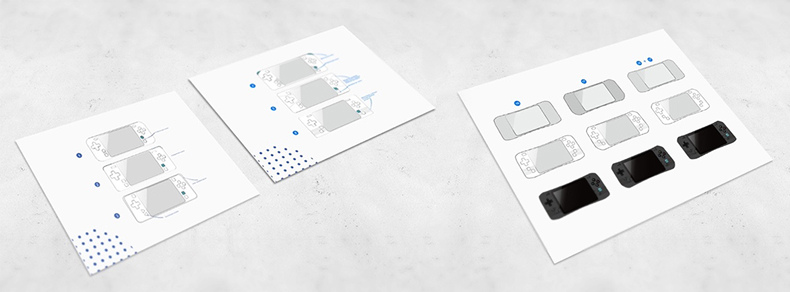
Selected console sketches that the client has approved
Stage 2. Ergonomics
For some ideas, we made quick mock-ups in foam without plasticine to test the ergonomics of our solutions:

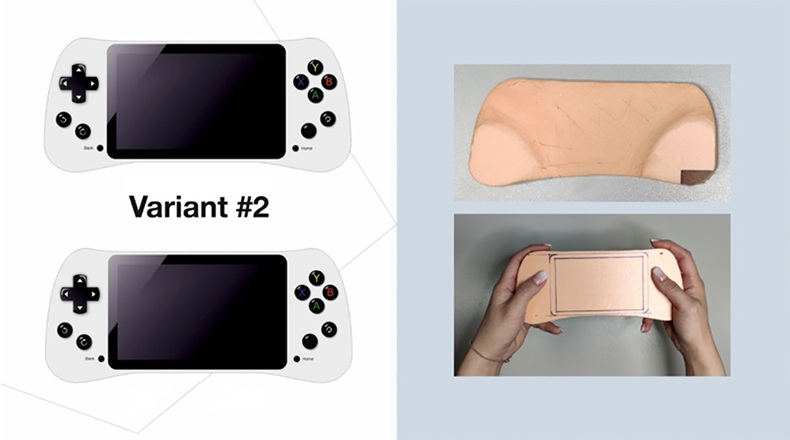
The best silhouettes were cut out of foam plastic and shaped with sculpting plasticine
At this stage, we selected some successful silhouettes shown in the pictures above.
The selected silhouettes were cut out of foam plastic and shaped with sculpting plasticine to test the ergonomics – to ensure that a case of this size and shape is comfortable, fits well in your hand and allows you to use the buttons actively.
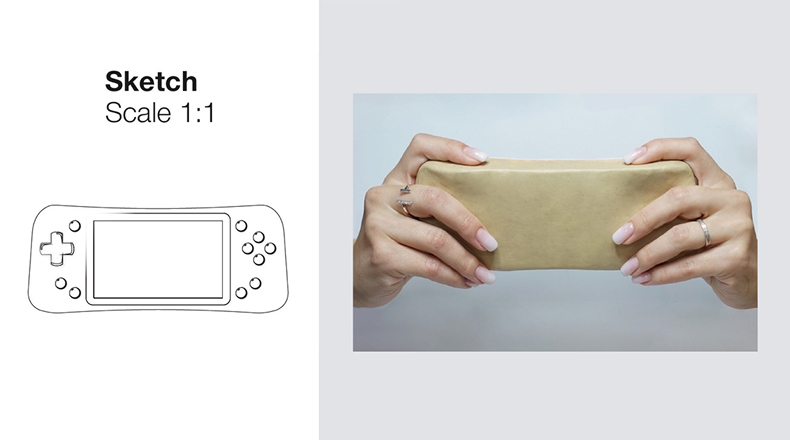
Testing the enclosure to make it comfortable for children and adults
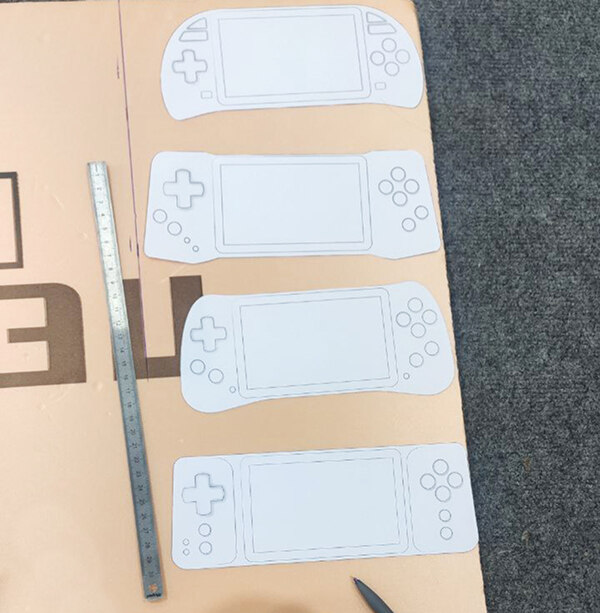
Paper stencils for making plasticine models
We sent five finished mock-ups in plasticine to the customer, so he could feel the shape and choose the most comfortable form.
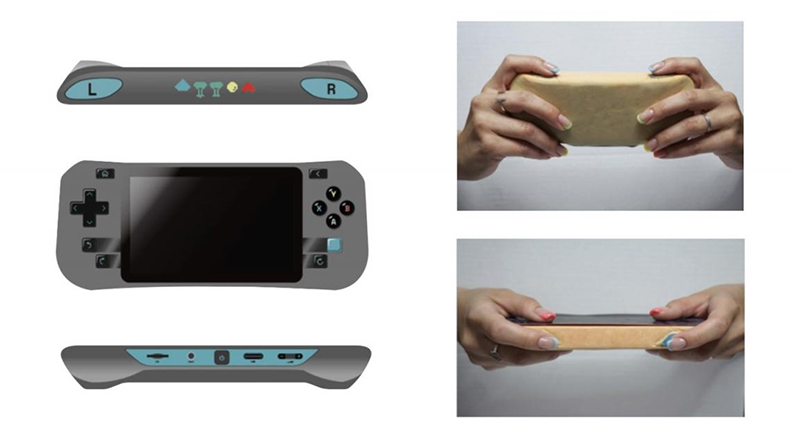
The video game console design: testing the plasticine model
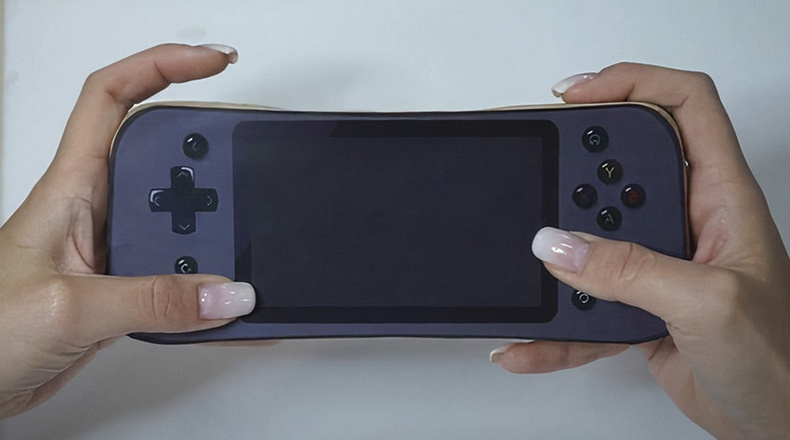
Comfort in the hands is ensured by the anatomical shape of the console
Step 3. Scanning the plasticine model & developing 3D model
The client chose a favourite plasticine model of the game console enclosure.
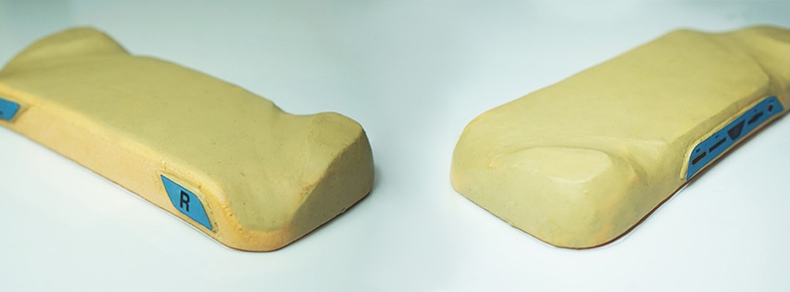
Preparing the plasticine console model for 3D scanning
We scanned it with a 3D scanner to get a 3D model that we divided into individual case parts: covers, bases, buttons, triggers. Also, we smoothed out all the imperfections of the plasticine model, while keeping the ergonomics of the selected layout.
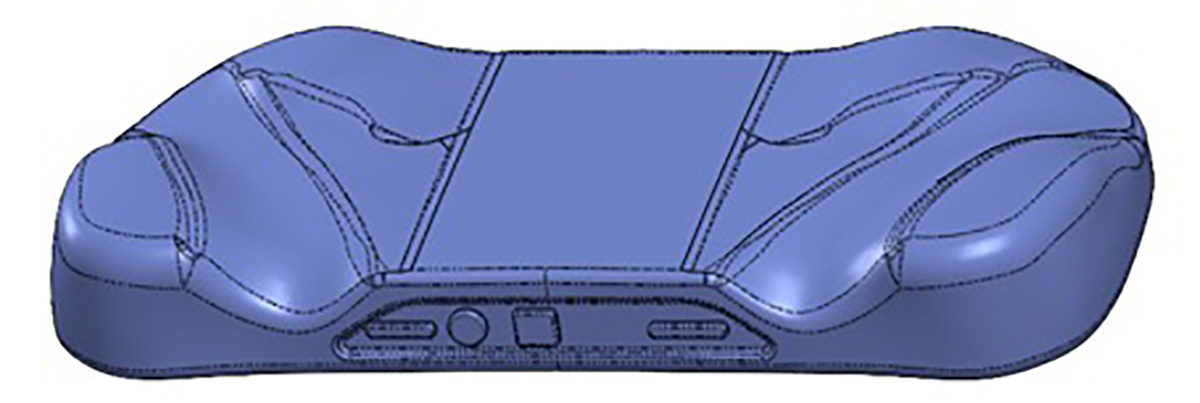
A 3D scanned model of the game console
At this stage, the main task was to bring the model to a comfortable and aesthetically pleasing shape.The scanned 3D model was edited again based on comments/suggestions from the client. We added an upper finger-supporting plane and smoothed the diagonal recess. Also, in several iterations, the dimensions were increased by a few mm for a comfortable button layout.

The final 3D model of the game console
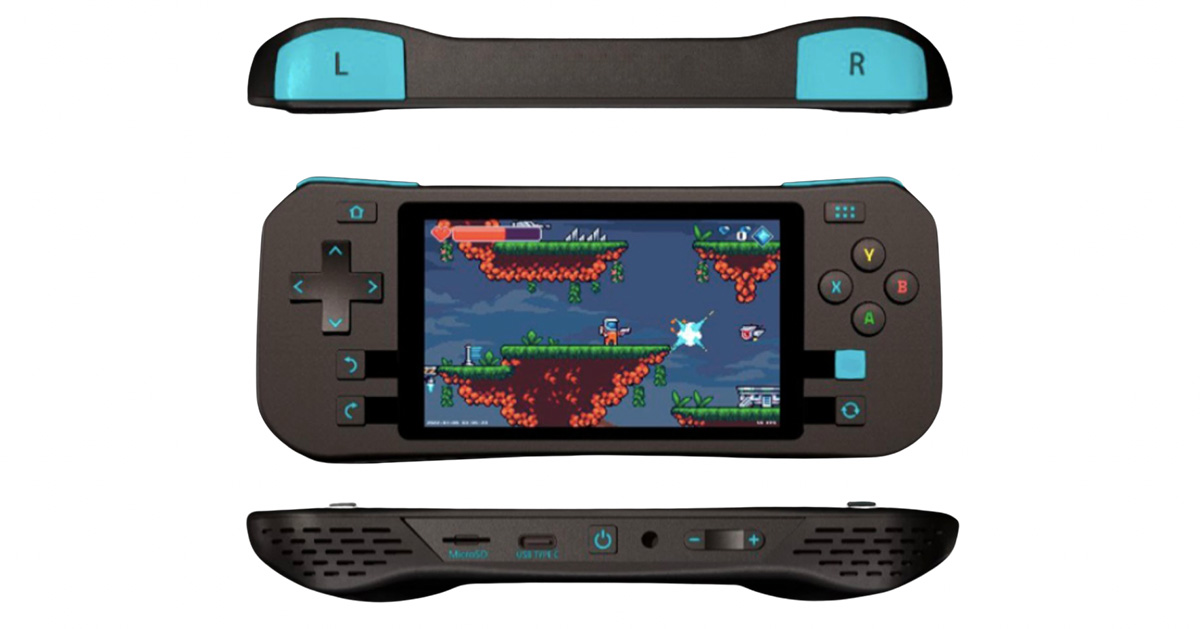
The final render of the game console
Step 4. 3D printing
We printed the selected variant on a 3D printer to test not only the visual part of the project but also its ergonomics. After this stage, the height of the buttons and fonts, and size of the stickers were changed. We also noticed glares on the screen edge, so the design had to be changed.
Step 5. Milled sample
After all the refinements, we manufactured a second sample device using the milling technique.
In this sample, we checked the usability and assemblability of the design. As a result, we fixed a few defects that could not be seen on the 3D model:
- we changed the ergonomics of the buttons, ensured the alignment of the micro-buttons on the board with the buttons on the game console,
- chose a different vibration source and moved its position from the board to the case,
- elected more powerful speakers and improved sealing of the voice cavity.

The height of the buttons has been changed for better ergonomics
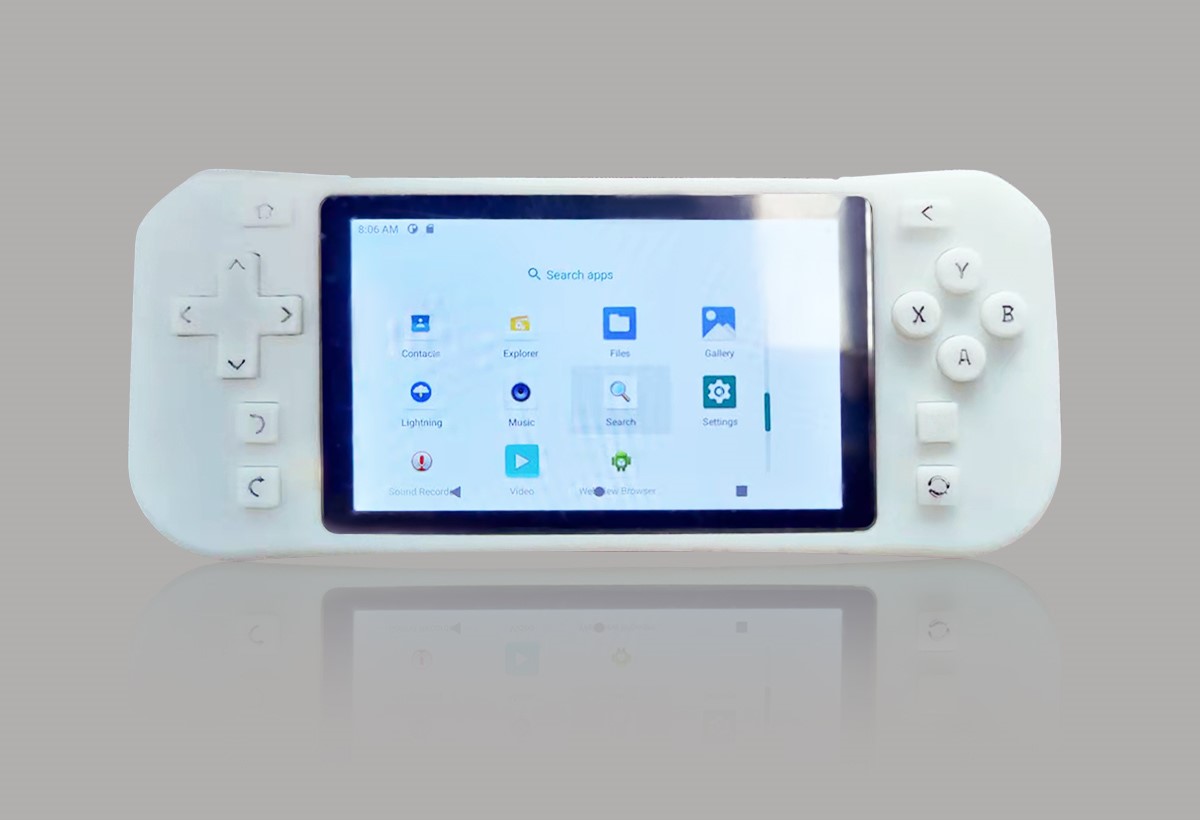
The working prototype made by milling
Our client approved the final prototype and started mass production.
Business Value
The client received a minimalistic and ergonomic game console that fits in the back pocket. Additional convenience is provided by the rough texture of the fingerprint-resistant enclosure.
The console's adaptability to various hand sizes ensures a broader customer base and heightened user satisfaction, reflecting a deep understanding of user needs.
As a result, we've not just crafted a gaming console, but a device that exemplifies the combination of thoughtful design and profitable outcomes.


